Loving your Light Test Dummy…
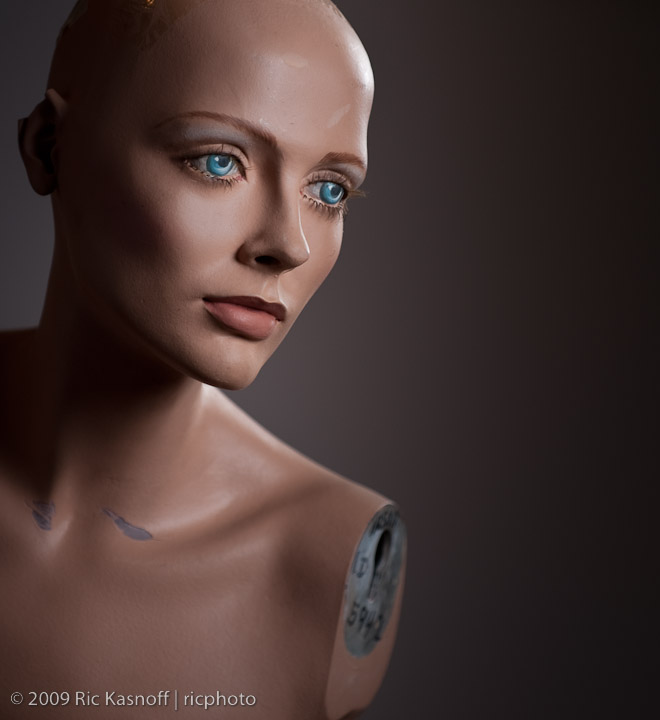
Ever since Jim Harmons’ Portrait lighting class at Brooks Institute sometime last century I’ve had an ongoing love affair with “Light Test Dummies” (mannequins or girlequins if we’re being PC). From the simple plastic heads we started with to the lifelike descendents I use in my test studio and lighting classes today, I couldn’t imagine being without at least one (I have three currently) of these invaluable learning and testing tools.
 In
In 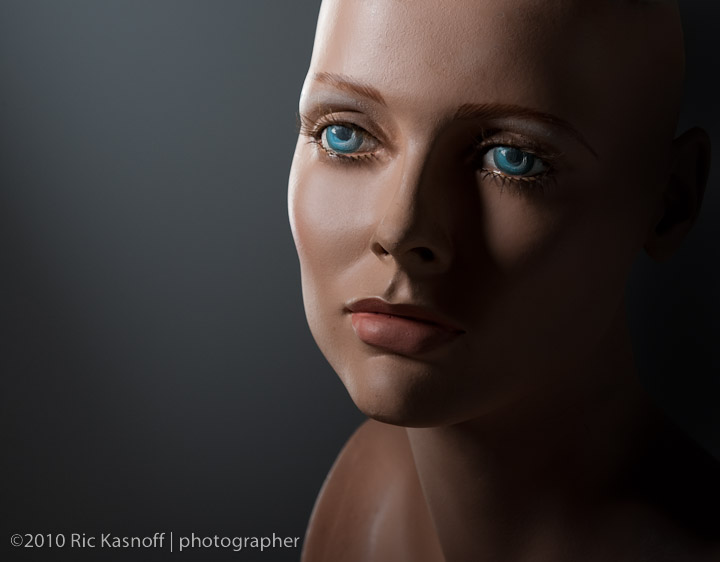 our basic lighting classes we started with producing lighting patterns on eggs, moved onto racquetballs (diffuse with specular logo) and finally up to billiard balls (very specular). Then, as a reward, we graduated to shooting all of them on black glass (specular and diffused surfaces on a specular surface with background gradation control)…can you imagine the fun we had? Somewhere, deep in the archives, I probably still have a dusty notebook with dozens of pages filled with images of eggs, racquetballs and billiard balls precisely lit and expensively photographed on polaroid film with a 4×5 view camera.
So you can imagine the joy I felt when I entered my first basic Portraiture class and discovered there wasn’t an egg to be seen…only a gathering of mannequin heads with bad wigs.

 Learning lighting patterns and ratios on an object that didn’t move or get frustrated with our initial slow pace was a godsend. Getting a split light to perfectly bisect the nose or figuring out the distance, height and angle that produced a perfect “Rembrant” triangle was easy when the model was clamped to a c-stand (hmmm might have to resurrect that practice ;-). While bouncing around trying to get the proper ratios between the key, fill, hair and background lights, especially when using hot lights like we did at first, was much less stressful knowing we didn’t have a model suffering heat stroke or dying of boredom while we debated light placement and tried to figure our light meters out.

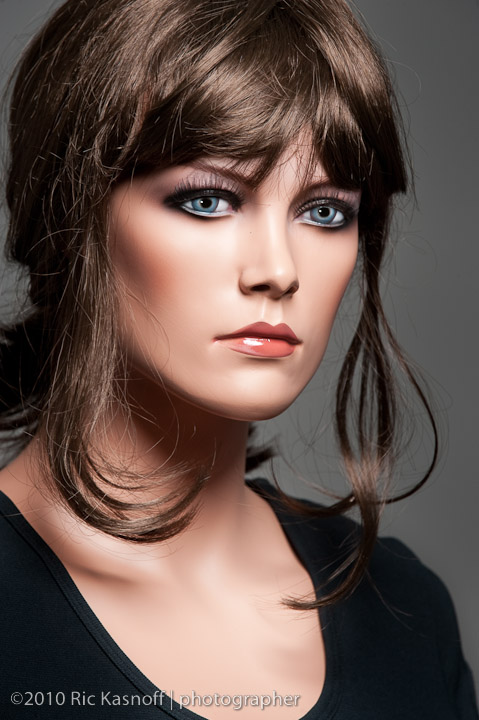
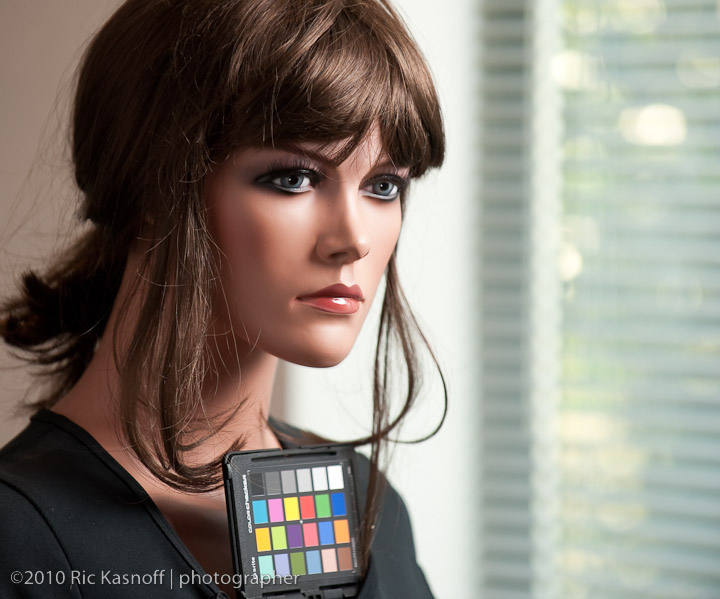
 Over the years the practice of using Light Test Dummies has evolved for me. I use them for initial tests on new lights or modifiers, to help refine a new lighting scheme idea, as a teaching tool in my lighting classes and even as props and decoration in the studio. Being able to instantly grab a lifelike figure when you have a sudden inspiration and your significant other moans “oh no…not again” can help save wear and tear on relationships too.
Good news…the quality and realism of mannequins available today has risen dramatically while prices have fallen to the point that every aspiring photographer can afford to add these great learning tools to their kit.
When I purchase my first mannequin the prices for a decent looking one (without wig) hovered somewhere between $400-$600.00. Now you can get nice quality, very realistic looking mannequins in a variety of poses for around $100.00 and my wife has found decent wigs for around $20.00 at a local party supply store.
 Lately I’ve been getting mine from a gentleman in New Jersey named Dov Brafman at the Mannequin Hub. He has very competitive pricing, a good selection and even gives my lighting class students a discount if they call direct and mention my class. (you’re reading this and learning something, so that’s a form of “class” too, isn’t it? ;-) His contact info is included below.
Give them a try. My students seem to like the low key, less stressful approach to learning basic lighting in my classes and having something/someone to practice what they learned on when they get home seems to help them retain and perfect their skills much quicker. An added benefit is that MUA’s and Stylists always love playing dress-up with them during lulls in shoots.
Enjoy…Ric
The Mannequin Hub
Dov Brafman
862-222-2041
www.mannequinhub.com